Thursday 31 May 2012

Quick Meal Fix


If you're crunched for time to prepare a decent meal, don't fret! All you need is a piece of pita bread (or whatever bread you have available), ham, and cheese then you're good to have a quick munch. I know a lot of people are always rushing to the office and don't have time to prepare breakfast. Or too tired to whip up a hearty dinner. This is very common for those who live alone and would prefer to just buy anything from a convenience store. I know this because this is what I do when I used to work away from family. Guilty as charged. But now I have a family, I do my best to make everything homemade. :)

Ingredients:
  • 1 pc pita bread, halved
  • 1/4 cup chopped ham (or whatever leftover meat you have)
  • 1 small onion, sliced
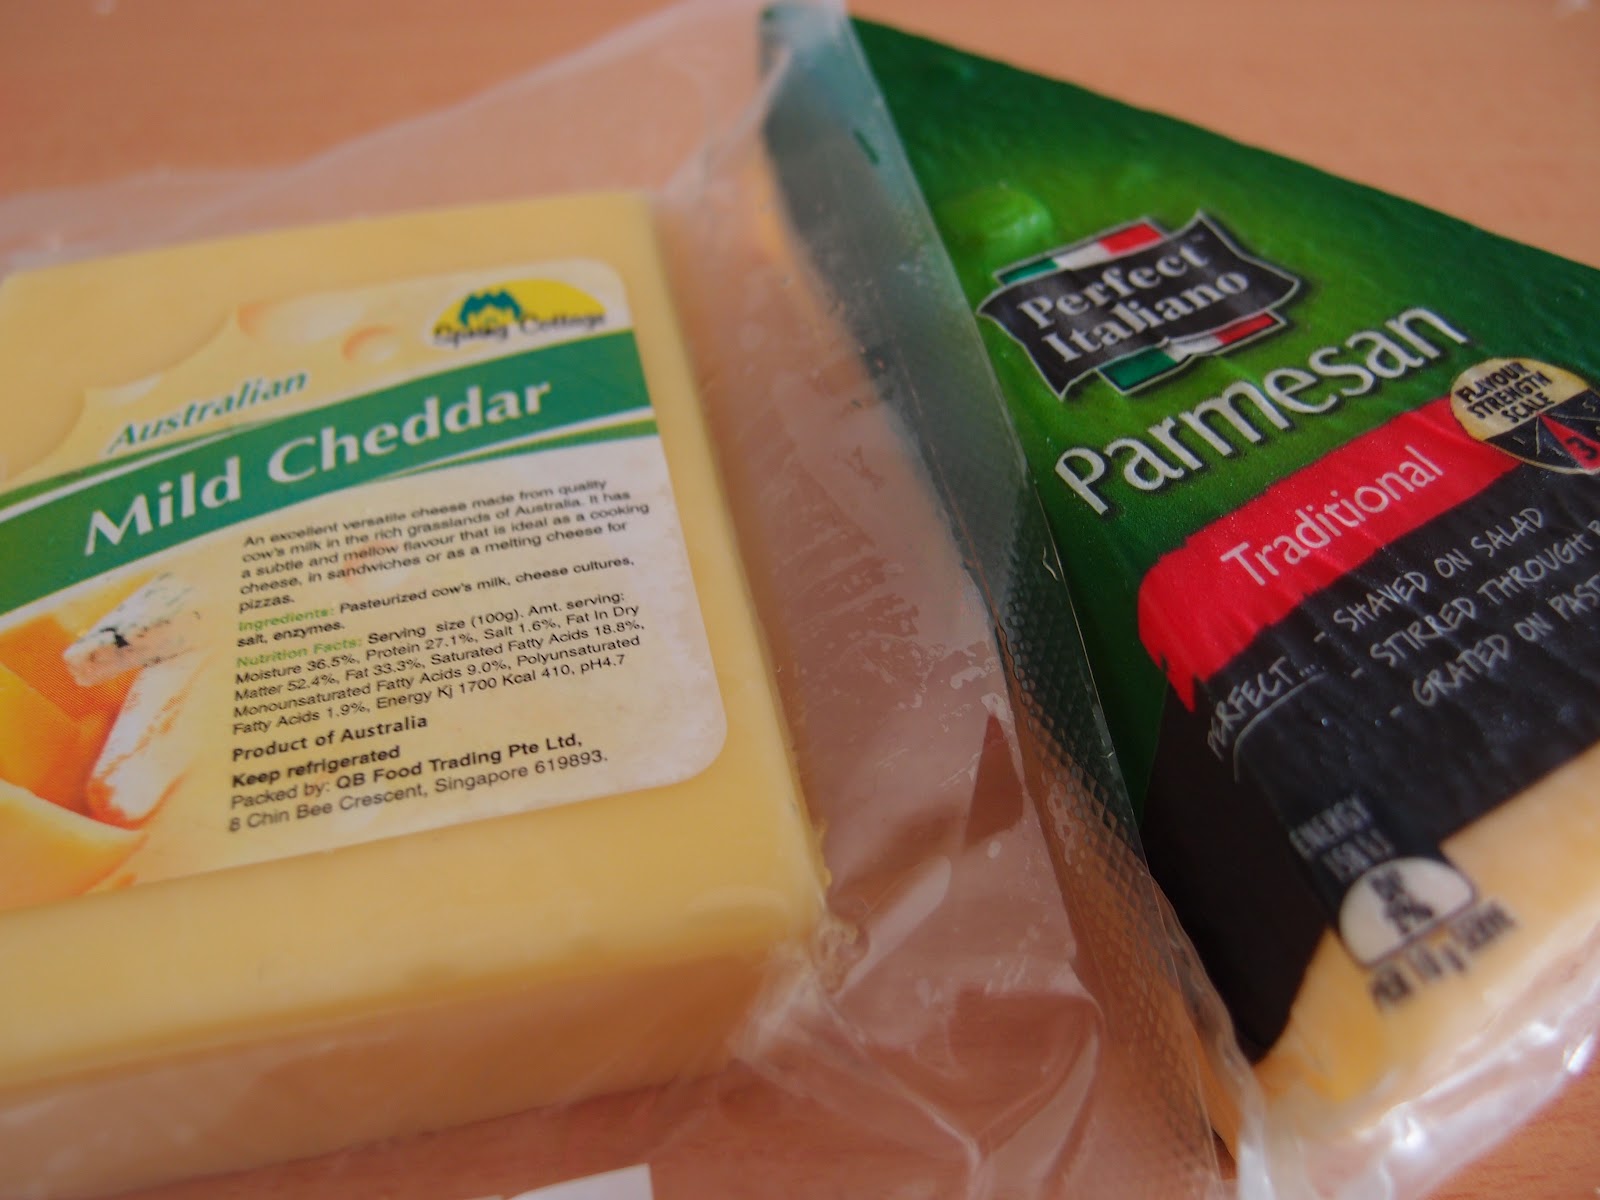
  • 1/3 cup shredded melting cheese
  • 1 tsp butter
  • mushrooms, chopped (optional)

Directions:

1. Slice the pita bread into half and prepare your fillings. Heat a skillet over medium heat. 
2. Melt the butter and toast the bread. On one of the pita slices, place half of the cheese on top and let it melt. Do not overturn.
3. As the cheese melts, place the onions and ham. Top with the rest of the cheese. Cover with other pita slice and press. Make sure not to burn the bread, just a light toast.
4. Slice the sandwich into two. Serve warm with mustard and hot sauce.


I just had this for lunch. I paired it with a steaming bowl of chicken and corn soup. Oh, happiness!

Wednesday 30 May 2012

Carrot & Potato Croquettes


Ingredients:

  • 400 grams potatoes, boiled and mashed
  • 100 grams carrots, boiled and mashed
  • 1/4 cup milk
  • 1 Tablespoon butter
  • salt and pepper to taste
  • 1/4 cup freshly grated Parmesan cheese
  • 1 egg + 1 egg yolk
  • 1/3 cup flour
  • 1/4 cup Japanese bread crumbs
  • 1/2 canola oil for frying

Procedure:

1) Peel and boil potatoes and carrots. When they are done (when you can stick a fork through), transfer them to a colander and let them sit for a couple of minutes, but don’t let them cool down. We only want excess water to evaporate.

2) Transfer potatoes and carrots in a large bowl. Then add salt, pepper, and butter and start mashing. Slowly add the milk (you may add a little more depending on the type of potatoes you are using) and keep mashing the mixture until is is very smooth and creamy. You can opt to use your food processor if this is a bit tiring for you.

3) Add the egg yolk and keep mashing until the mixture turns sticky. Then slowly add the flour (again, you may adjust the amount of flour, depending on the type of potatoes) until the mixture is again firm and only slightly sticky.

4) Put a dollop of the mixture on your palm and then form into a ball or a roll. Arrange the croquettes on a wooden board. Put it inside the fridge and let sit for 30 minutes.

5) Take croquettes out of the fridge. Crack the egg up and put the contents on a shallow bowl. Beat thoroughly using a fork. Take a plate and put breadcrumbs on it.

6) Pour oil on your deep fryer and pre-heat to 180° C or 350° F. Coat each croquette with the beaten egg then coat with bread crumbs.

7) Drop the breaded croquettes into the hot oil. It cooks real quickly so keep a close watch. After about 2 minutes, they should be golden brown. Scoop them out of the fryer and put on paper towels to remove excess oil. Don’t let them sit around too long as they will get soggy. Arrange on a platter then serve plain, with ketchup or sweet and sour sauce.

Monday 28 May 2012

Beef Stroganoff

Beef Stroganov
I was thinking of how to use up our leftover pasta over the weekend then I thought of Beef Stroganoff or Beef Stroganov. I didn't know this is a Russian dish up until I googled it earlier today! Oh my. And I didn't know Japanese have their version that uses "instant sauce cubes" and they also add soy sauce. Weird, right? But I want to try that version someday! :)

Too bad I didn't have tarragon and nutmeg at hand so I used my Italian seasoning. And I used light sour cream. Ahem. :P

Ingredients:
  • 6 Tbsp butter
  • 1 pound of top sirloin or tenderloin, cut thin into small strips
  • 1 medium sized onion, shopped
  • 1/2 pound cremini mushrooms, sliced
  • Salt to taste
  • Pepper to taste
  • 1/8 teaspoon nutmeg
  • 1/2 teaspoon of dry tarragon or 2 teaspoons of chopped fresh tarragon
  • 1 cup of sour cream at room temperature
METHOD


1 Melt 3 Tbsp of butter in a large skillet on medium heat. Increase the heat to high/med-high and add the strips of beef. You want to cook the beef quickly, browning on each side, so the temp needs to be high enough to brown the beef, but not so high as to burn the butter. You may need to work in batches. While cooking the beef, sprinkle with some salt and pepper. When both sides are browned, remove the beef to a bowl and set aside.

2 In the same pan, reduce the heat to medium and add the shallots. Cook the shallots for a minute or two, allowing them to soak up any meat drippings. Remove the shallots to the same bowl as the meat and set aside.

3 In the same pan, melt another 3 Tbsp of butter. Increase heat to medium high and add the mushrooms. Cook, stirring occasionally for about 4 minutes. While cooking, sprinkle the nutmeg and the tarragon on the mushrooms.

4 Reduce the heat to low and add the sour cream to the mushrooms. You may want to add a tablespoon or two of water to thin the sauce (or not). Mix in the sour cream thoroughly. Do not let it come to a simmer or boil or the sour cream will curdle. Stir in the beef and shallots. Add salt and pepper to taste.

Serve immediately over egg noodles, fettucine, potatoes, or rice. (Potatoes, rice, and gluten-free pasta are gluten-free options.)

Fresh button mushrooms

Beef strips

Linguine

Light sour cream


Simmering

Serve with pasta and warm focaccia bread

Tuesday 22 May 2012

Bibingka


I was actually planning to make another batch of Chocolate Chip Cookies but when I saw a blog post about a stall selling Bibingka, I suddenly felt like eating one! But since I don't know where to get one nearby, I thought of making one instead.  Good thing that the ingredients are handy. I'm not a fan of salted eggs so I'm opting that out and besides, I don't know where to find that here. :P I'm thinking loading it with cheese!

Ingredients:
  • 2 cups rice flour
  • 1/2 cup glutinous rice flour
  • 1 tablespoon baking powder
  • 3/4 cup sugar, more for sprinkling on top of the cakes
  • 3 eggs, lightly beaten
  • 1 1/2 cup coconut milk
  • 1/3 cup butter, melted, and more for brushing banana leaves and cakes
  • 4 pieces banana leaves cut into 8-inch circles
  • 1 salted egg, sliced into 1/4-inch-thick slices
  • 1 tablespoon sugar
  • 2 tablespoons grated coconut (optional)
  • 2 tablespoons grated Edam cheese (optional)

Directions:
  1. Preheat the oven to 170 degrees F.
  2. Combine rice flour, glutinous rice flour, baking powder, and sugar in a bowl. Add eggs, coconut milk, and butter. Beat by hand until just blended. Do not overbeat the batter.
  3. Line ramekins with banana leaves and brush the leaves with butter.
  4. Pour the rice batter equally into ramekins. Bake for 20 minutes. Lay slices of cheese on top and set the cakes on the top rack of the oven. Bake until the cake is cooked through, 10 minutes more. 
  5. Once cooked, take the cakes out of the oven and brush the top with butter. Serve the cakes warm. Brush the cakes with butter and sprinkle with muscovado sugar.
Cooking notes:
1. For the rice and glutinous rice flour, I recommend using the Thai brand commonly found in most Asian grocery stores.
2. Use either tart pans or ramekins lined with banana leaves cut into circles. The cakes baked in 6-inch pans more closely resemble the traditional ones. The cakes baked in 4-inch ramekins are thicker and take longer to bake.
3. Instead of a sliced salted egg, the cakes can be topped with slices of Edam or Gouda cheese.
4. When using frozen grated coconut let the grated coconut thaw then place the thawed coconut on paper towels to soak up the extra moisture. Place them on a baking tray and lightly toast them for about a few minutes with the broiler turned on low. Use grated coconut and NOT grated young coconut.


Source: Jun Belen's Blog

Monday 21 May 2012

BC Bloggers

It's been 5 months since I started becoming active on my blog again after a long hiatus. And I want to make something out of this hobby of mine. Meaning, I want to also enjoy the fruits of my interest - baking/cooking and blogging about it. So I thought of joining groups, added other bloggers and of course, blog hop as well.

Then I came across BC Bloggers. Since I'm not working at the moment, it inspired me to work on my blog and I may earn from it eventually! So I'm making the most of my online time rather than do nonsense stalking (hee hee).  And I want to devote more time in enhancing my photo skills, too.

So if you're interested, visit their site at http://www.mommydiary.net/ and know more about joining the club to connect fellow bloggers like me!

Sunday 20 May 2012

RBC Scones


Makes 8-10 Scones
Ingredients:
  • 3 cups all purpose flour
  • 1 tbsp baking powder
  • 1 tsp salt (omitted)
  • 2-3 teaspoons freshly ground black pepper 
  • 1/2 cup chilled butter
  • 3/4 cup grated cheddar cheese
  • 3/4 cup grated gloucester cheese
  • 1 tbsp dried rosemary
  • 10 slices bacon, cooked and chopped
  • 1 cup sour cream, thinned with milk
  • 1 egg + 3 tbsp milk (for eggwash)
Directions:
  1. Preheat the oven to 200 degrees Celsius. In a large bowl, stir together the flour, baking powder, salt and pepper.
  2. Use an electric mixer, a pastry blender or two knives cut in the butter until the mixture is crumbly and studded with flour-butter bits the size of peas. (I used my hands to break up the butter. Always easiest for me.)
  3. Stir in the cheese until just blended.
  4. Add the green onions, bacon and 3/4 cup buttermilk. Mix just until the ingredients are incorporated. If dough is too dry to hold together, add the remaining buttermilk, 1 tablespoon at a time, until it forms into a pliable dough. Stir as little as possible to have a light-textured scone.
  5. Place the dough on a lightly floured surface, and pat it into a ball. Using a well-floured rolling pin, flatten the dough into a circle about 8 inches wide and 1/2 inch thick. Cut the dough into 8 to 10 equal wedges. (I used a round pastry cutter for my scones)
  6. Whisk the egg and water together in a small bowl. Brush each wedge with the egg wash. Place the scones on an ungreased baking sheet, and bake for 18 to 20 minutes, or until golden brown and no longer sticky in the middle. Serve warm.
Source: The Baker Chick


Thursday 17 May 2012

Mango Sago


When I was doing my grocery last week, I saw a bunch of Thai Honey Mangoes being on sale - S$1 each! I was getting giddy all over because I rarely see mangoes at this price.  They're usually 3 for S$5 or 5 for $10. Expensive, I know! And to be honest, the mangoes aren't even close to Philippine mangoes' sweetness! But I discovered the Thai Honey Mangoes have less aftertaste compared to the Thai Rainbow kind. So off I went to get unripe ones and had them kept in the cabinet. 

Today, I saw them ripe and very fragrant! So I thought of making one of my favorite desserts, mango sago. It's easy and doesn't need a lot of ingredients to prepare. This dessert is also an easy choice for kids. My tot thought it was ice cream! Haha


 Thai Honey Mango
Ingredients:
  • 2 sweet mango
  • 1/2 cup of sago pearls
  • 1 cup evaporated milk
  • 3-5 tbsp sugar (more if you like it sweeter)
Directions:
  1. Cook the sago pearls as instructed. Drain using a metal strainer and set aside.
  2. Puree the mangoes. You can puree them using a food processor, a blender/pastry blender, or heck, even just a fork will do!
  3. Add the milk, cooked sago pearls and sugar. Cool the mixture for about 2-3 hours. I tried putting my mixture in the freezer for about 20-30 minutes to have a very thick consistency.
  4. Serve cold.


Tuesday 15 May 2012

Chocolate Brownie Muffins


I came across a recipe in Yummly - The Ultimate Chocolate Brownie Muffins which made me really curious.  Is it a muffin or is it a brownie? :D To find out, I thought of trying this recipe.  I thought of decorating the top with the almond slivers I had in my cupboard and instead of chocolate chips, I used white choco cubes. I was so excited I didn't know how to get started. I almost knocked over my kitchen utensils. Haha!

good old trusty silicone muffin cups
Ingredients:
  • 3/4 cup good quality baking cocoa (I used Bensdorp)
  • 1 tsp baking powder
  • 3/4 cup butter (margarine melted)
  • 1/2 cup boiling water
  • 1 tbsp vanilla
  • 11/4 cups sugar (I used half white and half brown) 
  • 2 eggs
  • 1 1/3 cups all-purpose flour (I only used 1cup)
  • 1/4 tsp salt
  • 1/2 cup chocolate chip (I used white choco)
  • 1/2 cup walnuts (I used slivered almonds)
I chopped the whole block to these mini cubes
Directions:
  1. Set oven to 160 degrees Celsius. Line 12 muffin tins with paper liners.
  2. In a medium bowl combine cocoa and baking powder; mix to combine. Add in boiling water and mix well with a wooden spoon.
  3. Carefully pour in the melted butter and vanilla and mix well. Add in the sugar. Stir in eggs slowly. 
  4. In a separate bowl, combine the flour with salt. Add in the chocolate mixture; mix well to combine (batter will be a bit on the thin side).
  5. If using any add ons, you need to fold them in at the last minute. Make sure to coat your chocolate chips with flour so they won't settle on the bottom of the muffins.
  6. Using an ice cream scoop fill each of the muffin tins almost to the top. Add the almond slivers.
  7. Bake for 25-30 minutes or until muffins are done, don't over bake! (might take a little longer, depending on how full the muffin tins are with the batter).


The verdict? Hmmm... It's rich and dense with gooey chocolate inside. The outer part of the muffin is crumbly and a bit crisp. You'd love this if you're into dark chocolate. If you like to sweeten your batter, make sure to use 1 1/4 cups of sugar.

Saturday 12 May 2012

Chocolate Chip Blondies


I got this recipe from Taste of Home and I tweaked it a bit. I've been longing for several months to do the white version of brownies, thus they are called blondies. If there are brownies and blondies, why aren't there blackies?! :P

On to the topic, I'm not sure if the store I bought the chocolate chips got the name of the kind of chocolate chips I bought. The staff said it's Dinmark and I tried researching about it online but I can't find anything. The only thing I remembered was that the lady said this kind of chocolate chip is like the mozzarella of the cheeses, it melts and elastic when baked. If any of you guys know what's the real name of this kind of chocolate, please let me know! :D

Ingredients:
  • 1 1/2 cups packed brown sugar (I only used 1 cup)
  • 1/2 cup butter, melted (I used margarine)
  • 2 eggs, lightly beaten
  • 1 teaspoon vanilla extract
  • 1 1/2 cups all-purpose flour
  • 1/2 tsp baking powder
  • 1/2 tsp salt (opted this out)
  • 1 cup (6 ounces) semisweet chocolate chips (I used Dinmark)


Directions
  1. In a large bowl, combine the brown sugar, butter, eggs and vanilla just until blended. Combine the flour, baking powder and salt; add to brown sugar mixture. Stir in chocolate chips.
  2. Spread into a greased 13-in. x 9-in. baking pan. Bake at 350° for 18-20 minutes or until a toothpick inserted near the center comes out clean.
  3. Cool on a wire rack. Cut into bars.


Friday 11 May 2012

Pita with Oregano Chips

Cream cheese-chives dip

I posted about the Cream Cheese-Chive Dip I made a few days ago. I made the perfect pair to go with it, the pita chips. Ate Giada was right, this is da bomb! I cannot stop myself from eating!!!
Ingredients:
  • 4 whole-wheat pita breads, halved
  • 2 tablespoons olive oil
  • 1 teaspoon dried oregano
  • 1/2 teaspoon kosher salt, plus extra for seasoning
  • 1/2 teaspoon freshly ground black pepper, plus extra for seasoning
Directions:

Place an oven rack in the center of the oven and preheat to 200 degrees Celsius. Cut each pita half into 4 wedges. Arrange the pita wedges in a single layer on a baking sheet. Brush with the oil, then sprinkle with the oregano, salt and pepper. Bake for 5 to 8 minutes until crisp and golden.


Thursday 10 May 2012

Bicol Express


It's been a while since we had Bicol Express.  This is actually one of the husband's favorite dish. Since I want the pork to be verrrry tender, I had it boiled until it became tender. It took about 45 minutes to an hour to make the meat soft. Of course, I seasoned the water with salt and pepper together with slices of onions and crushed garlic to make it savory!

Beware, this is really spicy! Even the husband, who's very fond of spicy food and eats dried chilies straight up, said that it was really hot. :P

Ingredients:
  • 5-8 pcs elongated green chilies, julienned (you can use a slightly milder substitute, try the serrano or jabanero)
  • 4-5 pcs red chilies, sliced
  • 200 g shrimp paste (The Thai version is not a substitute as it is very pungent and totally overpowering. Filipino shrimp) (We don't like bagoong so we didn't use this)
  • 4 garlic cloves, minced
  • 1 small ginger, chopped
  • 1 whole onion, chopped
  • 1/2 kg pork, cut into tiny pieces
  • 1/2 kg plum tomato, chopped (opted this out)
  • 4 tablespoons vegetable oil
  • 1 cup thick coconut milk (the light version can be pretty bland)
Directions:
  1. In a pot, put several slices of onion and crush garlic. Season with salt and pepper, add pork slices. Once the meat becomes tender, drain the stock. 
  2. In a pan or a wok, sauté garlic, onion and ginger  in oil.
  3. When onion is slightly cooked, add pork.
  4. Fry the mixture for 2 minutes until pork turned a little brown, and then add 1/2 cup of water.
  5. Season with salt and pepper. Boil then add chilies.
  6. Pour in the coconut milk, keep stirring. Simmer until mixture becomes thick.
  7. Serve hot with rice.
Source: Food.com